5 Game-Changing Steps to Flawless Base Makeup That Actually Work
Let’s be real.
We’ve all been there—standing in front of the mirror at 3 PM, watching our foundation crack like the Sahara Desert. Or worse, catching our reflection in harsh office lighting and seeing every. single. patch.
Foundation that cakes, creases, and betrays you halfway through the day? Yeah, that ends today.
I used to be that person frantically googling “why does my foundation look cakey” at midnight. Not anymore.
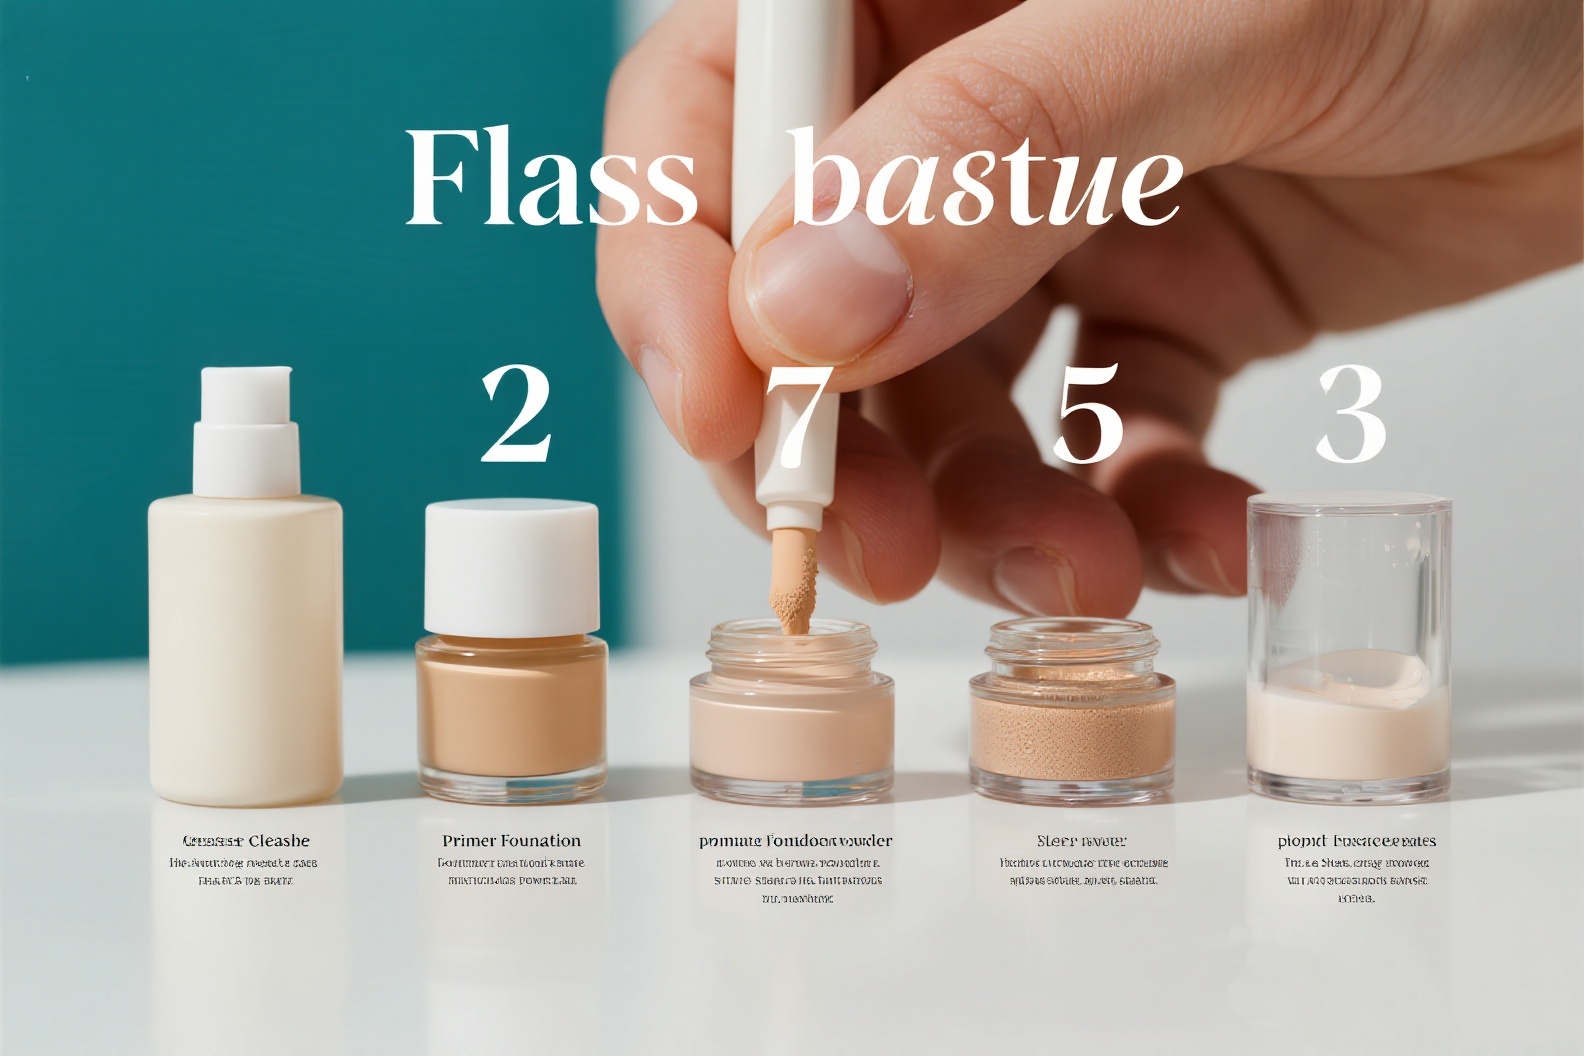
Here’s the truth bomb: most makeup tutorials overcomplicate things. You don’t need 47 products or a beauty degree. You need these five bulletproof techniques.
Step 1: The Pre-Game Prep (This Changes Everything)
Dry skin and foundation are sworn enemies. Period.
Here’s what actually works:
Start with a hydrating mist. Not a fancy one—even drugstore thermal water works. Spray your entire face. Don’t pat it dry.
Now the game-changer: apply a thick layer of moisturizer while your skin is still damp. Yes, thick. We’re talking visible layer here.
Focus on the trouble zones—nose creases, around your nostrils, chin texture. Massage in circular motions for 30 seconds. This softens dead skin cells that love to grab onto foundation.
Wait exactly 2 minutes. Set a timer if you need to.
Then take a damp makeup sponge (or even a clean washcloth) and gently press away the excess. Your skin should feel bouncy, not slippery.
One more spritz of hydrating mist. Pat it in with your fingertips.
This whole process takes 4 minutes max. Skip it, and you’ll regret it by lunch.
Step 2: Concealer Without the Cake-Face Effect
Here’s where 90% of people mess up.
They glob on concealer like they’re spackling drywall. Stop that.
Get a flat concealer brush. Not a fluffy one—flat. This gives you control.
Warm up cream concealer on the back of your hand first. This makes it blend like butter instead of paste.
The trick? Less is more. Seriously.
Dab (don’t swipe) a thin layer under your eyes. Build coverage gradually if needed. Most dark circles disappear with proper technique, not more product.
For blemishes: tap concealer directly on the spot, then feather the edges outward. Don’t blend the center—you’ll just move the product off the blemish.
Pro move: mix a tiny drop of facial oil into your concealer for dry under-eyes. Game changer for anyone over 25.
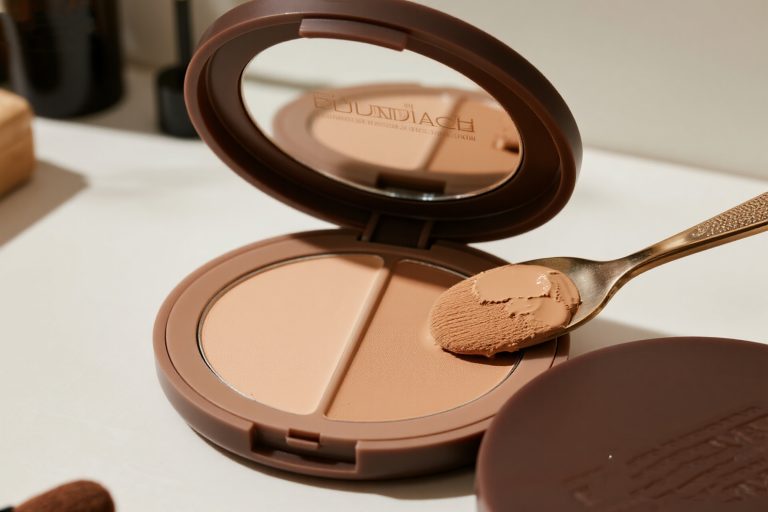
Step 3: Foundation That Looks Like Skin (Not a Mask)
Forget everything Instagram taught you about foundation.
You need half the amount you think you do. For real-world, full-face coverage? Half a pump. That’s it.
Shake your foundation bottle for 10 seconds first. Most people skip this and wonder why their foundation oxidizes weird.
Apply with your fingers initially. Yes, fingers. They warm the product and help it melt into skin.
Start from the center of your face and work outward in downward strokes. Against the grain for large pores—stroke upward on your nose and cheeks.
Now grab a damp beauty sponge. Bounce it over your face to pick up excess and blend harsh lines.
The key? Press and roll the sponge, don’t drag it. Dragging creates streaks.
For oily skin: set each section immediately after blending, before moving to the next area.
For dry skin: mist between foundation and powder to maintain that dewy finish.
Step 4: Strategic Highlighting (Without Looking Like a Disco Ball)
Most highlighting tutorials are lies.
You don’t need to look like you bathed in unicorn tears. You need strategic placement.
Liquid highlighter beats powder for longevity. Mix it with a drop of setting spray for extra staying power.
Where to actually highlight:
- Inner corners of eyes (instantly awake)
- Center of eyelids (makes eyes pop without eyeshadow)
- Above cupid’s bow (fuller lips, no injections)
- Bridge of nose (just the bridge, not the whole thing)
Skip highlighting your cheekbones if you have textured skin. It emphasizes every bump.
Apply with your ring finger—it has the lightest touch. Tap, don’t rub.
The goal? Look healthy, not radioactive.
Step 5: Lock It Down (The Right Way)
Setting spray before powder. Always.
This is backwards from what everyone tells you, but trust the process.
Spray your face until it’s visibly dewy. Don’t blot. Let it naturally absorb for 30 seconds.
Now powder—but strategically.
Press (never rub) powder only where you get oily. For most people, that’s the T-zone and chin. Leave your cheeks alone if you want to look human.
Use a velour puff for pressing powder. Those fluffy brushes everyone loves? They disturb the foundation underneath.
Final setting spray to meld everything together. Hold it 8 inches from your face and spray in an X and T motion.
The result? Foundation that survives your commute, your coffee runs, and that unexpected video call.
The Real Talk Section
Still having issues? Here’s what nobody tells you:
If your foundation oxidizes orange: Your skincare has too much vitamin C or acids. Wait 10 minutes after skincare before starting makeup.
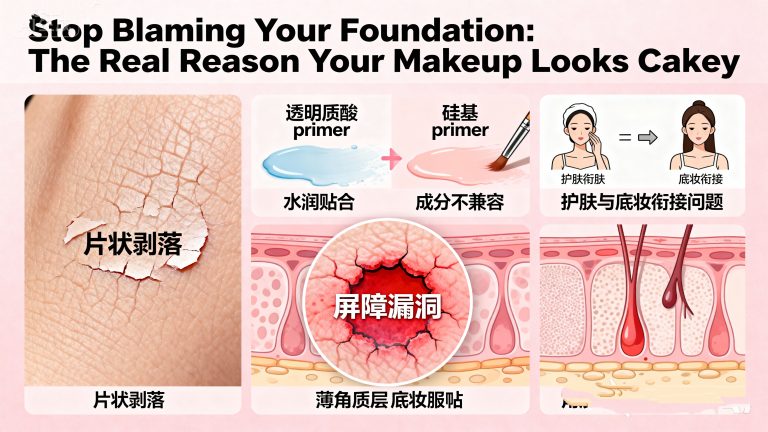
If it separates by noon: Your primer and foundation have incompatible bases. Water-based with water-based, silicone with silicone.
If it clings to dry patches: Exfoliate the night before, not the morning of. Chemical exfoliant, not physical scrubs.
If it slides off oily skin: Use milk of magnesia as primer on super oily days. Sounds insane, works perfectly.
The Bottom Line
Perfect base makeup isn’t about perfection. It’s about skin that looks like skin—just better.
These techniques work whether you’re using $5 drugstore foundation or $50 luxury formulas.
The difference isn’t the products. It’s the method.
Try this routine for one week. Your 3 PM reflection will thank you.
And remember: good base makeup should make people ask about your skincare routine, not your foundation shade.
Now go forth and slay with skin that looks like you woke up like this.
Keywords: foundation tips, how to apply foundation, cakey foundation fix, base makeup tutorial, flawless foundation, makeup for beginners, foundation for oily skin, foundation for dry skin, long-lasting makeup, makeup techniques